The finest tanks are the ones with zippers. A tank is the only garment you’ll need when it’s hot; a good under-layer when it’s chilly. You can wear a tank top to weed your garden or add a necklace for drinks. Did we mention that tank tops are also really simple to make and an excellent beginner sewing project?
You can discover a plethora of tank top patterns on the internet, or you may create your own by tracing a tank or blouse in your wardrobe. Just make sure you choose a prior tank in the same material if, for example, you’re going to sew your new tank with a woven fabric. Then it’s time to get started.
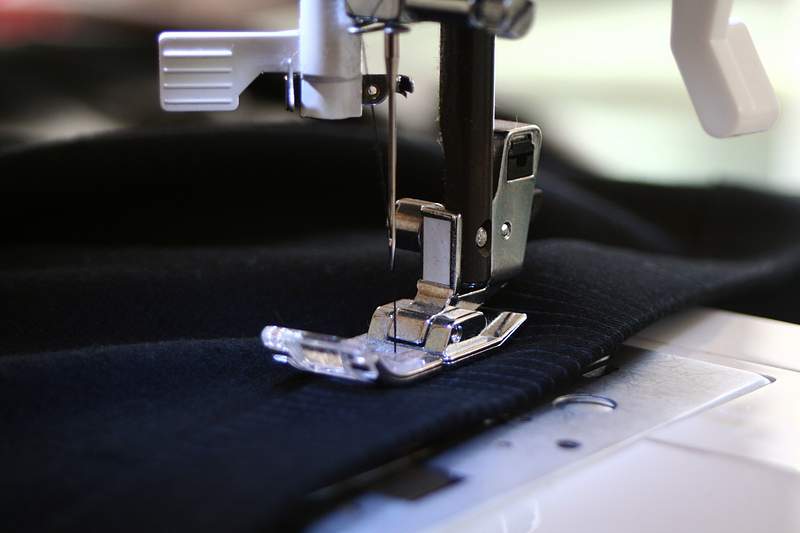
How to Make a Tank Top in a Sewing Machine
What You Need:
- Tank top pattern
- Fabric
- Iron
- Sewing pins
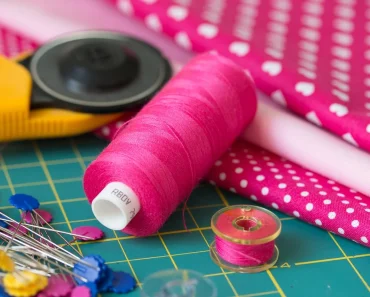
- Thread
Instructions
1. Wash and Iron
Because fabric shrinks when it is washed for the first time, you must never skip this step.
2. Cut Out Your Pattern
There are five separate pieces to cut for this design: a front, back, one neckline facing, and two armhole facings. If you’re creating your own pattern, remember to cut the facings on the bias so they may stretch. The fold should be used when cutting the front and back (unless you want a seam down the front and/or back of the tank).
3. Pin
Pinch the front and back of your tank top together. Match the shoulder and side seams with the right sides facing each other. Sew with a ¾” seam allowance. Turn the tank inside out and press it. Finish off the shoulder and side seams (here we used pinking shears, but you can also use a French seam).
4. Hem the Bottom
Pin your tank to ahem. We did a narrow rolled hem, but depending on the shape of your tank, a blind hem is an alternative option.

5. Sew the Short Ends
With the right sides together, sew the short ends of each facing pair together with a ¼” seam. The seam should be pressed open.
6. Pin the Facing to the Neckline
Start by flipping the tank inside out and aligning it with the neckline. If you like, attempt to match one of the shoulder seams on the facing with one of the shoulders seams. Now sew using a ¾” seam allowance.
7. Press
Set the presser foot on your machine with the direction mark toward you. Feed the facing through from left to right below the throat line and topstitch along with it, using a ¼” seam.

8. Repeat for the Armholes
Repeat the process for each of the armholes to create a neckline that looks three-dimensional.
9. Finish
Press and finish the facing seams. Bam! You’ve just made your own tank top!
Why not make multiple? Once you’ve found a style that works for you, you can modify it to create a variety of tank tops: add a pocket, alter the neckline, or expand the tank into a dress. You’ll want one in every colour — and style, and just about every fabric – for each day of the week once you know how to sew a tank top.


